अपने वेपोराइज़र को कैसे साफ करें: पूर्ण रखरखाव गाइड
David Martinez
Concentrate Expert
अपने वेपोराइज़र को कैसे साफ करें: पूर्ण रखरखाव गाइड
इष्टतम प्रदर्शन बनाए रखने और एक सहज वाष्प अनुभव सुनिश्चित करने के लिए अपने वेपोराइज़र को नियमित रूप से साफ करना आवश्यक है। चाहे आप एक नौसिखिया हों या एक अनुभवी उत्साही, यह समझना कि आपके डिवाइस को ठीक से कैसे साफ किया जाए, इसके जीवनकाल को काफी हद तक बढ़ा सकता है और आपके भांग के स्वाद को बढ़ा सकता है। यह व्यापक मार्गदर्शिका आपको विभिन्न प्रकार के वेपोराइज़र की सफाई के चरणों के साथ-साथ प्रक्रिया को आसान बनाने के लिए कुछ आसान युक्तियों के बारे में बताएगी।
वेपोराइज़र विभिन्न रूपों में आते हैं और सूखी जड़ी-बूटियों के वेपोराइज़र से लेकर ध्यान केंद्रित करने वाले मॉडल तक विभिन्न उद्देश्यों की पूर्ति करते हैं। प्रत्येक प्रकार की आवश्यकता थोड़ी अलग रखरखाव तकनीकों की आवश्यकता होती है, लेकिन सभी स्वच्छ, स्वादिष्ट हिट देने के सामान्य लक्ष्य को साझा करते हैं। आइए अपने वेपोराइज़र को टिप-टॉप आकार में रखने के विवरण में गोता लगाएँ।
शीघ्र उत्तर
एक त्वरित और प्रभावी वेपोराइज़र सफाई के लिए, अपने डिवाइस को अलग करें, आइसोप्रोपिल अल्कोहल में हटाने योग्य भागों को भिगोएँ, अवशेषों को धीरे से साफ़ करें, पानी से कुल्ला करें और इसे पूरी तरह से सूखने दें। नियमित सफाई आपके वेपोराइज़र से बेहतर प्रदर्शन और स्वाद सुनिश्चित करती है।
विषय-सूची
- अपने वेपोराइज़र की सफाई क्यों महत्वपूर्ण है
- उपकरण और सामग्री जो आपको चाहिए
- चरण-दर-चरण सफाई प्रक्रिया
- 5. अपने वेपोराइज़र को फिर से इकट्ठा करें
अपने वेपोराइज़र की सफाई क्यों महत्वपूर्ण है
कई कारणों से आपके वेपोराइज़र की नियमित सफाई महत्वपूर्ण है। सबसे पहले, यह सुनिश्चित करता है कि आपको अपने भांग से सर्वोत्तम संभव स्वाद मिले। पिछले सत्रों के अवशेष आपके वाष्प के स्वाद का निर्माण और परिवर्तन कर सकते हैं। दूसरा, सफाई क्लॉग को रोकता है और यह सुनिश्चित करता है कि आपका डिवाइस सुचारू रूप से काम करे। समय के साथ, बिल्डअप एयरफ्लो को अवरुद्ध कर सकता है, जिससे अक्षम वाष्पीकरण हो सकता है।
इसके अलावा, एक स्वच्छ वेपोराइज़र अधिक स्वच्छ होता है, जिससे संभावित हानिकारक बैक्टीरिया या मोल्ड के जोखिम को कम किया जा सकता है। नियमित रखरखाव न केवल आपके डिवाइस के जीवन का विस्तार करता है बल्कि आपके समग्र वाष्प अनुभव को भी बढ़ाता है।
उपकरण और सामग्री जो आपको चाहिए
इससे पहले कि आप अपने वेपोराइज़र की सफाई शुरू करें, प्रक्रिया को आसान बनाने के लिए निम्नलिखित उपकरण और सामग्री इकट्ठा करें:
- आइसोप्रोपिल अल्कोहल (90% या अधिक)
- कपास झाड़ू या पाइप क्लीनर
- छोटा ब्रश (टूथब्रश की तरह)
- माइक्रोफाइबर कपड़ा
- गरम पानी
- छोटा कटोरा
इन वस्तुओं को हाथ में रखने से आपको अपने वेपोराइज़र के हर हिस्से को कुशलतापूर्वक साफ करने में मदद मिलेगी।
चरण-दर-चरण सफाई प्रक्रिया
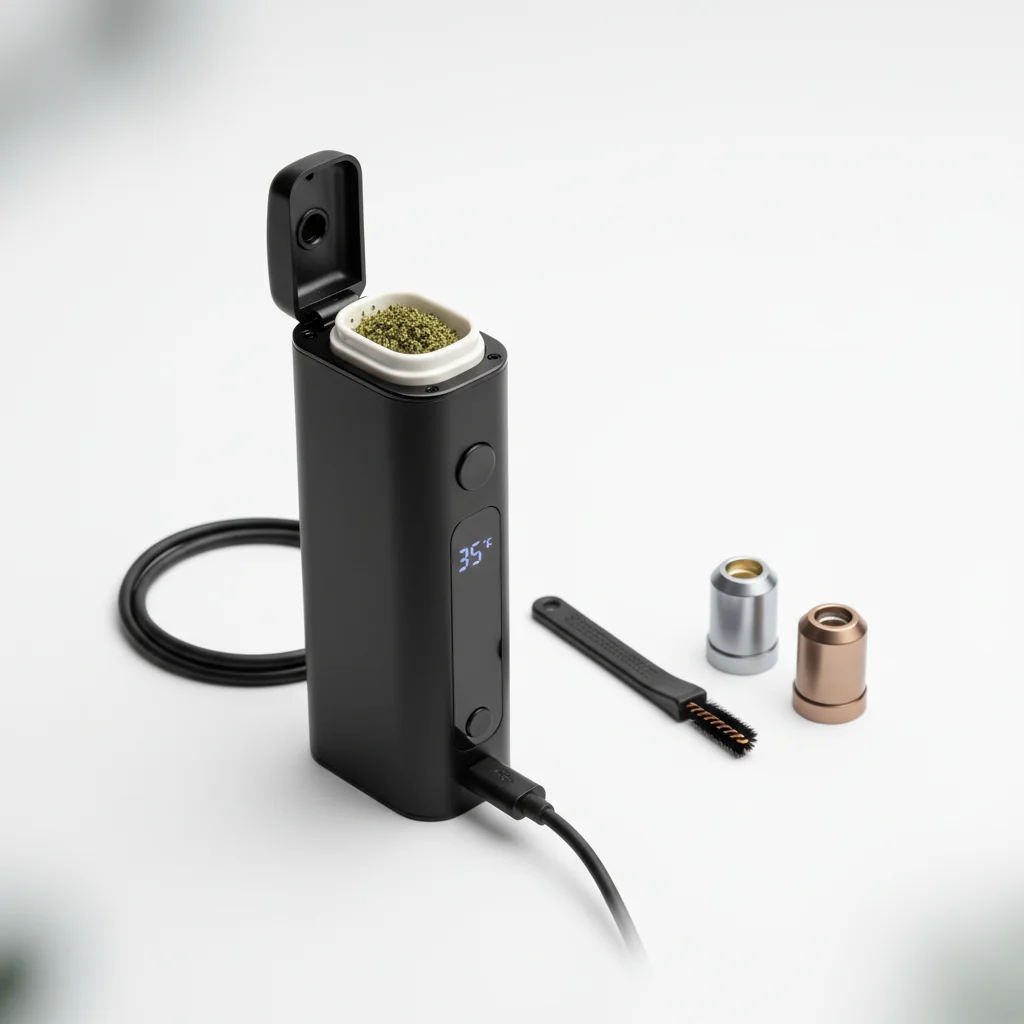
1. वेपोराइज़र को अलग करें
अपने वेपोराइज़र को ध्यान से अलग करके शुरू करें। यदि आप अपने विशिष्ट मॉडल को अलग करने का तरीका नहीं जानते हैं तो निर्माता के निर्देशों का संदर्भ लें। आम तौर पर, आपको मुखपत्र, कक्ष और किसी अन्य वियोज्य भागों को हटाने की आवश्यकता होगी।
2. मुखपत्र को साफ करें
- सोखना:लगभग 20 मिनट के लिए एक कटोरी आइसोप्रोपिल अल्कोहल में माउथपीस रखें।
- स्क्रब:किसी भी जिद्दी अवशेष को हटाने के लिए कपास झाड़ू या छोटे ब्रश का प्रयोग करें।
- कुल्ला:मुखपत्र को गर्म पानी से धो लें और इसे एक साफ कपड़े पर पूरी तरह से सूखने दें।
3. कक्ष को साफ करें
- ब्रश:कक्ष से किसी भी ढीले कणों को हटाने के लिए एक छोटे ब्रश का प्रयोग करें।
- शराब पोंछना:आइसोप्रोपिल अल्कोहल में एक कपास झाड़ू को भिगोएँ और धीरे से कक्ष की दीवारों को साफ करें।
- सूखा:पुन: संयोजन से पहले कक्ष को हवा में सूखने दें।
4. हीटिंग तत्व को साफ करें
हीटिंग तत्व की सफाई करते समय सतर्क रहें, क्योंकि यह नाजुक हो सकता है। इसे शराब में भिगोने से बचें।
- ब्रश:किसी भी बिल्डअप को धीरे से ब्रश करें।
- झाड़ू:तत्व को साफ करने के लिए अल्कोहल के साथ थोड़ा नम कपास झाड़ू का उपयोग करें, यह सुनिश्चित करें कि इसे ओवरसैचुरेटेड न करें।
5. अपने वेपोराइज़र को फिर से इकट्ठा करें
एक बार जब सभी भाग साफ और सूखे हो जाएं, तो अपने वेपोराइज़र को फिर से इकट्ठा करें। सुनिश्चित करें कि प्रत्येक घटक सुरक्षित रूप से जगह पर है। यह सुनिश्चित करने के लिए कि यह सुचारू रूप से संचालित होता है, डिवाइस का परीक्षण करें।
अपने वेपोराइज़र को बनाए रखने के लिए टिप्स
लगातार रखरखाव आपके वेपोराइज़र के जीवन को लम्बा खींच सकता है। यहां कुछ सुझाव दिए गए हैं:
- कक्ष खाली करें:प्रत्येक उपयोग के बाद, अवशेषों के निर्माण को रोकने के लिए कक्ष को खाली करें।
- का उपयोग करेंचक्की:एक गुणवत्ता का उपयोग करनाकैनबिस ग्राइंडरयहां तक कि जलना और कम अवशेष सुनिश्चित करता है।
- ठीक से स्टोर करें:नमी के नुकसान से बचने के लिए अपने वेपोराइज़र को ठंडी, सूखी जगह पर रखें।
वेपोराइज़र के उपयोग के बारे में अधिक जानकारी के लिए, हमारे देखेंवेपोराइज़र तापमान गाइड.
सामान्य गलतियों से बचना
- शराब का अधिक सेवन:शराब का अधिक सेवन कुछ पदार्थों को नुकसान पहुंचा सकता है। इसे कम से कम इस्तेमाल करें और अच्छी तरह से कुल्ला करें।
- पूरी तरह से सूख नहीं रहा है:विद्युत क्षति को रोकने के लिए हमेशा सुनिश्चित करें कि सभी भागों को पूरी तरह से सूखा है।
- नियमित सफाई की उपेक्षा:व्यापक निर्माण से बचने के लिए सफाई को अपनी नियमित दिनचर्या का एक नियमित हिस्सा बनाएं।
निष्कर्ष
एक स्वच्छ वेपोराइज़र आपके भांग के पूर्ण स्वाद और प्रभावों का आनंद लेने के लिए महत्वपूर्ण है। इस गाइड में उल्लिखित चरणों का पालन करके और नियमित सफाई कार्यक्रम बनाए रखते हुए, आप यह सुनिश्चित कर सकते हैं कि आपका डिवाइस इष्टतम प्रदर्शन और दीर्घायु प्रदान करे। सही वेपोराइज़र चुनने या बीच के अंतरों को समझने के बारे में अधिक युक्तियों के लिएसूखी जड़ी बूटी और ध्यान केंद्रित करें, हमारे अन्य गाइडों का अन्वेषण करें। हैप्पी वापिंग!
Frequently Asked Questions
इष्टतम प्रदर्शन और स्वाद बनाए रखने के लिए आपको हर कुछ उपयोगों के बाद अपने वेपोराइज़र को साफ करना चाहिए। नियमित रखरखाव भी आपके डिवाइस के जीवनकाल को बढ़ा सकता है।
Related Guides

510 Thread Batteries: Complete Guide to Vape Pen Batteries
Everything you need to know about 510 thread batteries for vape cartridges. Learn about voltage settings, battery types, features to look for, and how to choose the right battery for your cartridges.
Best Vaporizer Temperature Settings: Effects at Each Level
Comprehensive guide about best vaporizer temperature settings: effects at each level. Learn everything you need to know with expert tips and detailed instructions.

Conduction vs Convection Vaporizers: Heating Methods Explained
Understand the difference between conduction and convection heating in vaporizers. Learn how each method affects flavor, vapor quality, efficiency, and which is best for your vaping style.