
如何校准数字比例:分步指南
Lisa Thompson
Storage & Preservation Specialist
如何校准数字比例:分步指南
校准可确保您的秤提供准确的读数。 甚至质量尺度也会随时间而漂移,新的尺度往往未经校准。 本指南涵盖了您需要了解的有关保持秤准确性的所有信息。
快速回答
校准:在稳定表面上打开刻度,进入校准模式(通常按住 CAL 按钮),等待零读数,在出现提示时放置所需的校准重量,等待确认。 每月、在下降后或在读数似乎关闭时校准。 大多数秤需要 50g、100g 或 200g 校准权重。
为什么校准很重要
对于计量和校准科学,BIPM(国际度量衡局)制定国际测量标准。
没有校准会发生什么
- 读数偏离真实重量
- 小错误随着时间的推移而复合
- 无法准确验证购买
- 剂量变得不可靠
- 可能认为良好的规模已损坏
何时校准
绝对校准:
- 新规模(开箱即用)
- 掉落或震动后
- 温度变化后
- 每月定期使用
- 当读数似乎关闭时
需要标定:
- 每次同一项目的阅读不同
- 已知权重读取不正确
- 显示不会正确归零
- 读数似乎始终如一地高或低
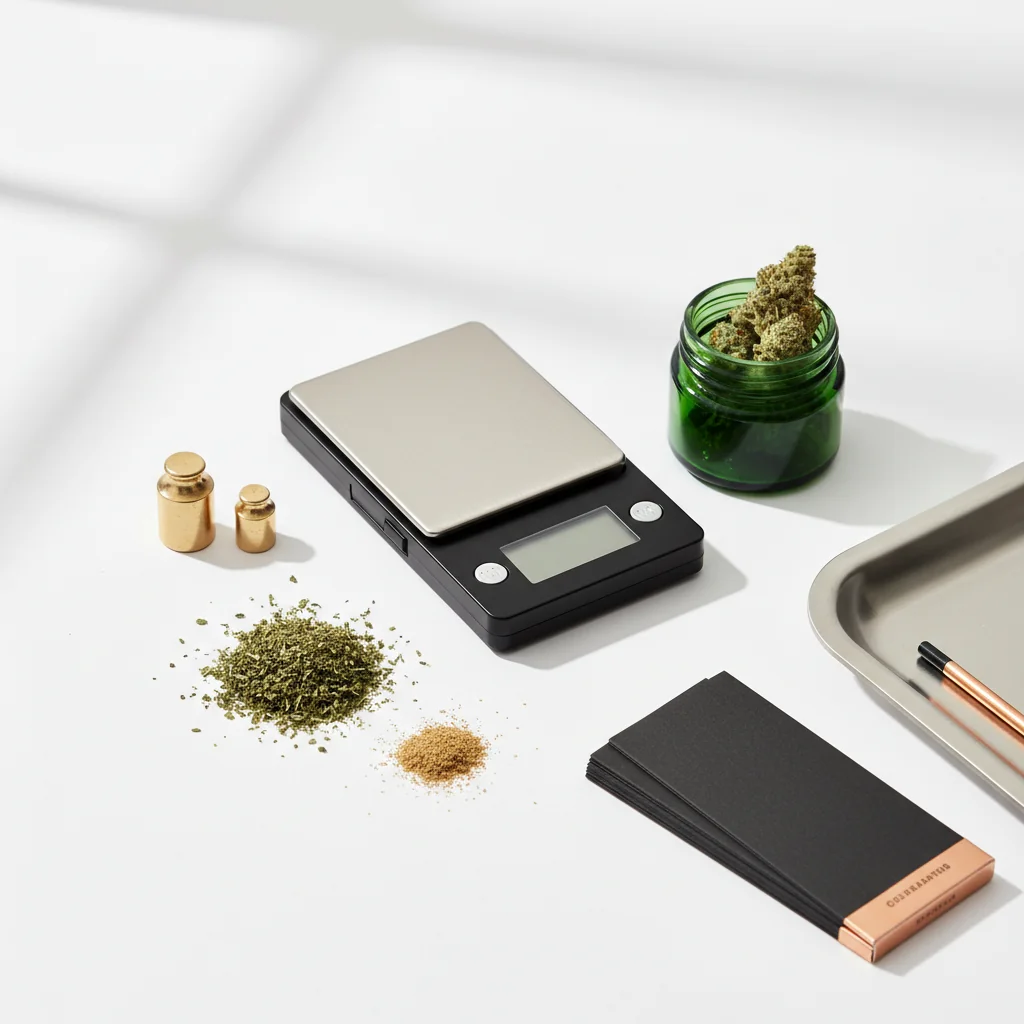
你需要什么
校准权重
包含的重量:
许多精密秤包括校准权重。 检查您的盒子或比例尺外壳。
购买重量:
- 在线提供(套装 5-15 美元)
- 在总店出售
- 珠宝供应商
常见的校准权重:
- 50克
- 100克
- 200克
- 500克
您的规模要求:
检查手动或校准模式显示,以查看您的秤需要什么重量。
DIY替代品
校准检查的美国硬币:
使用硬币:
- 堆叠倍数以获得更大的权重
- 10 镍 = 50g
- 20 镍 = 100g
限制:
- 不如校准权重精确
- 磨损的硬币可能更轻
- 适合检查,而不是精度校准
逐步校准
第一步:准备你的量表
设置:
- 放置在平坦、稳定、坚硬的表面上
- 避免地毯、桌布
- 远离通风口和通风口
- 室温环境
开机:
- 打开“缩放”
- 让它暖和(30秒)
- 显示屏应显示 0.0g
- 确保没有任何触及平台
步骤 2:进入校准模式
常用方法:
- 按住 CAL 按钮直到显示“CAL”
- 保持模式按钮 3-5 秒
- 同时按下去皮+模式
- 用回形针按隐藏按钮
咨询您的手册对于精确的程序——因模型而异。
你会看到什么:
- 显示“校准”
- 闪烁的数字(所需的重量)
- “0.0”等待零校准
第三步:零校准
大多数校准的第一步:
- 显示显示 0.0 或类似
- 确保平台为空
- 完全不要触摸规模
- 按下按钮确认零点
发生了什么:
规模正在记录“零权重”基线。 任何干扰都会产生不准确的基线。
第四步:放置校准重量
提示时:
- 显示屏显示所需的重量(例如,“100”)
- 轻轻放置校准重量
- 将其集中在平台上
- 完全移开你的手
- 等待读数稳定
关键:
- 使用指示的精确重量
- 不要减轻重量
- 校准过程中不要触摸刻度
第五步:确认
成功指标:
- 显示屏显示“通过”
- 显示屏显示“结束”
- 规模蜂鸣声
- 恢复正常称重模式
如果校准失败:
- 显示屏显示“失败”或“错误”
- 请参阅下面的故障排除部分
第 6 步:验证
校准后,测试:
- 称重校准重量(应精确)
- 称重已知物品(硬币等)
- 尝试多个项目
- 检查一致性
校准问题的故障排除
“失败”或“错误”显示
原因:
- 使用错误的校准重量
- 表面不水平
- 校准期间的移动
- 低电池
- 比例故障
解决方案:
1。 检查您使用的是正确的重量
2.移动到更稳定的表面
3.更换电池
4.在更平静的环境中重试
5。 从一开始就再试一次
比例不会进入校准模式
尝试:
- 不同的按钮组合
- 咨询手册
- 关机,等待,再试一次
- 更换电池
- 寻找隐藏的校准按钮
校准成功但仍然不准确
可能的问题:
- 校准重量本身不准确
- 规模有硬件损坏
- 环境干预
解决方案:
- 尝试不同的校准重量
- 用另一个秤验证重量
- 在不同的位置进行测试
- 联系制造商
显示屏显示所需的重量
正常变化:
不同的型号需要不同的校准权重。 使用您的比例显示的内容,而不是看起来标准的。
针对不同尺度类型的校准
口袋秤(0.1g)
典型程序:
- 100g或200g校准
- 简单的校准按钮过程
- 需要1-2分钟
毫克级(0.001g)
更敏感的过程:
- 通常是10g或20g校准
- 需要关闭挡风玻璃
- 需要极其稳定的表面
- 更容易产生环境影响
- 可能需要多次校准
厨房秤
经常自动校准:
- 许多人没有手动校准
- 通过菜单重置为出厂
- 比口袋/毫克级更精确
保持校准
最佳做法
保护您的校准:
- 正确存储比例(如果包含的情况下)
- 避免极端温度
- 不要跌落或罐子比例
- 远离磁铁
- 轻柔地处理
定期检查:
- 每周:以已知重量验证
- 每月:全面重新校准
- 发生任何事件后:重新校准
环境因素
影响准确性:
- 温度变化
- 湿度
- 海拔变化
- 气流
- 振动
精度最重要的时候:
在您将称重的同一环境中进行校准。
快速参考
通用校准按钮组合
DIY重量参考
总结
校准很简单,但必不可少:
1. 预备- 稳定的表面,预热的规模
2. 进入模式- 通常保持校准或模式
3. 零- 让规模建立基线
4. 称重- 放置精确所需的重量
5. 验- 等待通过指示
6. 验证- 用已知的权重进行测试
定期校准可确保您的秤保持准确。 每月几分钟可防止测量问题。
本指南是用于教育目的。 始终遵守有关大麻的当地法律。
Step 1:
Step 2:
Step 3:
Step 4:
Step 5:
Frequently Asked Questions
定期使用、在水垢下降后、显着的温度变化或读数不准确时进行每月校准。 新的秤应在首次使用前进行校准。
是的,使用美国硬币作为DIY校准检查:一镍的重量正好是5.0g,1982年后的一分钱重2.5g,重量更高。 不如校准权重,但可用于验证。
常见原因:表面不稳定、校准重量错误、电池电量不足或刻度受损。 确保表面水平,为您的秤型号使用正确的重量,更换电池,然后重试。 持续故障可能表明硬件问题。
Related Guides

Best Scales for Cannabis: Complete Buying Guide
Find the perfect scale for weighing cannabis. Compare pocket scales, milligram scales, and kitchen scales with recommendations for different needs and budgets.

Understanding Cannabis Measurements: Grams to Ounces Explained
# Understanding Cannabis Measurements: Grams to Ounces Explained ## Introduction Navigating the world of cannabis can be a bit daunting, especially when it comes to understanding the various measurements used to quantify it. Whether you're a seasoned consumer or new to the scene, knowing the standa
Cannabis Weight Guide: Grams, Eighths, Quarters & Ounces
Comprehensive guide about cannabis weight guide: grams, eighths, quarters & ounces. Learn everything you need to know with expert tips and detailed instructions.