
如何捲曲十字架:標誌性雜草十字架的完整教學
Mike Rodriguez
Rolling Expert
如何捲曲十字架:標誌性雜草十字架的完整教學
十字節(因鳳梨快車) 是滾動技術的皇冠上的明珠 - 兩個關節在 90 度處相交,同時從三個點燃燒。 這種專業級的技術具有挑戰性,但令人印象深刻。
快速回答
滾動一個十字接頭:滾動一個粗主接頭和一個較薄的十字接頭,在粗接頭的中心戳一個孔,將細接頭插入形成十字形的孔中,用濕的滾動紙片密封交叉點,測試所有三個端的氣流,同時照亮所有三個。 需要 1.5-2G 大麻總量和專業的滾動技能。
什麼是交叉關節?
結構:
- 一個厚的“主”關節(垂直)
- 一個薄的「交叉」關節(水平)
- 90度角相交
- 所有三個末端同時燃燒
出名: 鳳梨快車電影(Seth Rogen 和 James Franco)
難: 專家級 - 需要堅實的滾動基礎
有關交叉接頭用品,請查看自訂 [ 捲紙來自 Munchmakers](https://munchmakers.com/product-category/custom-rolling-papers/)。 用於高級滾動教程,iMDB上的鳳梨快車使這種標誌性的技術出名。
為什麼要捲十字節?
原因:
- 終極炫耀技術
- 令人印象深刻的視覺吸引力
- 獨特的吸煙體驗(三顆櫻桃)
- 工程挑戰
- 特殊場合/慶祝活動
失策: 交叉關節是浪費、困難和不切實際的。 它們是為了樂趣和奇觀,而不是效率。
先決條件
在嘗試之前,您必須能夠:
- 完美滾動常規關節(成功率超過 90%)
- 滾筒式接頭
- 緊密均勻地包裝接頭
- 用捲紙精心工作
如果你不能: 定期關節至少再做一個月。 交叉關節只會讓你感到沮喪和浪費大麻。
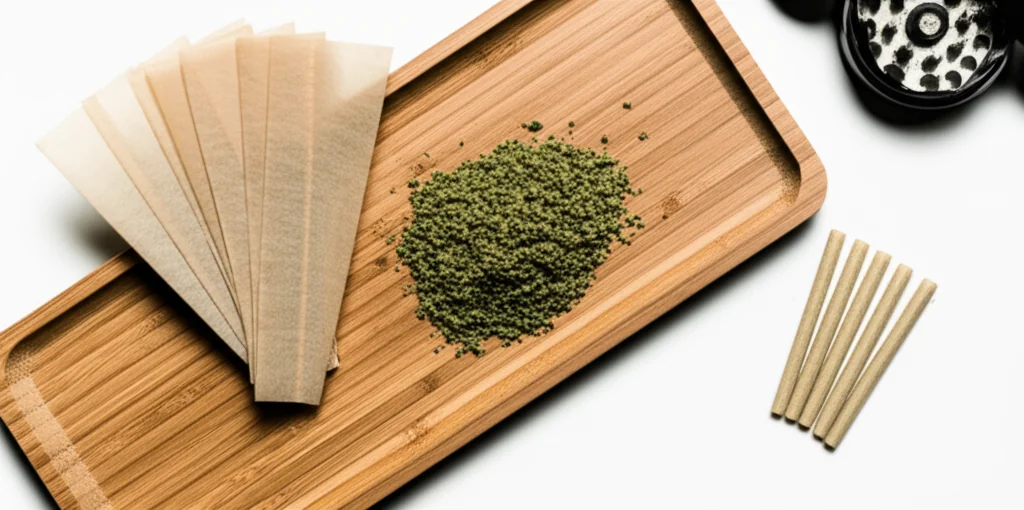
所需材料
- 特大號捲紙(2-3 張)
- 常規 1¼ 論文(2 篇論文)
- 過濾器/拐杖 (2)
- 大麻(總共 1.5-2 克)
- 回形針或撲克工具
- 用於補丁的額外捲紙
- 耐心
一步一步:滾動十字節
步驟 1:滾動兩個獨立的接頭
主關節(垂直):
- 使用特大號紙
- 滾得又厚又硬
- 包裝 1-1.5G 大麻
- 讓它變胖 - 需要結構完整性
交叉關節(水平):
- 使用 1¼ 紙
- 滾動比主
- 包裝 0.5-0.75g
- 必須穿過主接頭孔
兩者都應該是:
- 緊緊包裝
- 均勻分佈
- 完全密封
- 沒有軟點
步驟 2:找到中心點
在厚主接頭上:
- 測量精確中心
- 搵
- 這是交叉關節相交的地方
緊要: 中心點 = 兩側均燃燒
步驟3:戳洞
使用紙夾或撲克:
1. 在標記的中心點插入
2 . 直接推到另一邊
3. 擺動以稍微加寬孔
4. 應比交叉接頭寬度寬
小心: 不要撕開關節,只要創造乾淨的洞
步驟 4:插入交叉接頭
小心地將細接頭滑過孔:
- 緩慢地推開
- 應該是舒適但不強迫
- 兩側的長度相等
- 主接頭的 90 度角
托運: 十字架兩邊應該均勻伸出
步驟 5:密封十字路口
這很關鍵- 防止空氣洩漏:
1. 撕小塊捲紙(縮圖大小)
2 . 徹底舔它們以使其粘
3. 環繞關節相遇的十字路口
4. 覆蓋主接頭和交叉接頭之間的所有間隙
5. 用力密封
使用 3-4 張紙片從不同的角度包裝
步驟 6:測試氣流
照明前,從所有三個末端抽取:
1. 從主關節尖端抽出
2. 從左側交叉端繪製
3. 從右邊畫出
這三個都應該拉空氣。 如果有任何被阻塞,發現並密封洩漏,並使用更多的紙片。
步驟 7:點亮所有三個末端
令人印象深刻的部分:
方法 1(獨奏):
- 輕 主尖端優先
- 快速點亮兩端
- 需要速度和協調
方法 2(與朋友):
- 每人2-3人同時點燃一端
- 更容易、更可靠
目標: 三個櫻桃一次燃燒
步驟 8:抽煙和旋轉
吸煙技術:
- 僅從主接頭抽出(不要從十字端吸煙)
- 旋轉以保持所有三個側面均勻燃燒
- 觀看工程的實際運作
十字架燒毀並將煙霧送入主關節
常見的交叉關節問題
問題:交叉接頭從孔中掉落
因: 孔太大,十字接頭太薄
解答: 使交叉接頭更厚,或在十字路口使用更多密封紙
問題:空氣不流動
因: 十字路口密封太緊,氣流阻塞
解答: 在密封貼片上戳小孔以允許氣流,或使用更少的密封紙
問題:關節不會一直亮
因: 太鬆、不均勻的包裝或漏氣
解答:組裝前將兩個接頭更緊密地密封所有間隙
問題:不均勻的燒傷(前方一側)
因:非居中或一側包裝較緊的交叉接頭
解答:確保交叉接頭完美居中,兩側均勻包裝
它使用了多少雜草?
總: 1.5-2.5 克
故障:
- 主關節:1-1.5G
- 交叉關節:0.5-1g
比較:
- 常規關節:0.5-0.75g
- 常規鈍器:1-2G
交叉關節使用更多大麻和燃燒得更快(三點燃燒)
浪費了嗎?
是的,非常浪費:
- 同時從三點燃燒
- 大麻燃燒速度比你抽煙的速度快
- 大量煙霧未使用
- 無效消費
無論如何什麼時候做: 特殊場合、慶祝活動、炫耀、有趣的工程挑戰
變動
耶穌聯合(四路十字)
更高級:
- 兩個交叉關節與主關節相交
- 創造 5 個吸煙點
- 需要 3-4G 大麻
- 極難
只為真正的大師
編織關節
另類令人印象深刻的技術:
- 三個關節編織在一起
- 不同的視覺吸引力
- 比十字更容易
成功的秘訣
提示 1:先完善常規關節
如果你 95% 的時間都無法捲曲完美的常規關節,你還沒有準備好進行交叉關節。
提示 2:使主關節緊
粗接頭需要結構完整性來支撐交叉接頭。 不要害羞對大麻。
提示 3:大方密封
過度密封比密封不足好。 您可以隨時移除多餘的補丁,但空氣洩漏會破壞交叉接頭。
提示 4:點燃前測試
照明前,請務必測試所有端的氣流。 發現點亮後的問題 = 交叉接頭失敗。
提示 5:接受失敗
即使是經驗豐富的滾輪也無法通過 30-40% 的交叉接頭嘗試。 這是挑戰的一部分。
文具
鳳梨快車: 將交叉關節帶入主流意識
羅根(Seth Rogen: 「這是聯合工程渦旋的頂點」
大麻社區: 交叉關節是受人尊敬的滾動成就
象徵: 表現出對工藝的奉獻、工程思維、為藝術浪費大麻的意願
本指南用於教育目的。 大麻法因司法管轄區而異。
Step 1:
Step 2:
Step 3:
Step 4:
Step 5:
Step 6:
Frequently Asked Questions
是的,交叉關節是專家級的。 你需要紮實的關節滾動技巧、穩定的手和耐心。 學習時會有幾次失敗的嘗試。 先練習定期關節。
Related Guides
Rolling Paper Sizes Explained: 1 1/4, King Size, and More
Comprehensive guide about rolling paper sizes explained: 1 1/4, king size, and more. Learn everything you need to know with expert tips and detailed instructions.

Best Rolling Papers for Beginners: Complete Buying Guide 2026
Discover the best rolling papers for beginners including RAW, Zig-Zag, and OCB. Learn about sizes, materials (rice vs hemp vs wood pulp), and which papers are easiest to roll with.
Clear Rolling Papers: Are Cellulose Papers Worth It?
Comprehensive guide about clear rolling papers: are cellulose papers worth it?. Learn everything you need to know with expert tips and detailed instructions.