
DIY Yuvarlak Tepsi Fikirleri: Özel ve Geri Dönüştürülmüş Seçenekler
James Wilson
Cannabis Culture Writer
DIY Yuvarlak Tepsi Fikirleri: Özel ve Geri Dönüştürülmüş Seçenekler
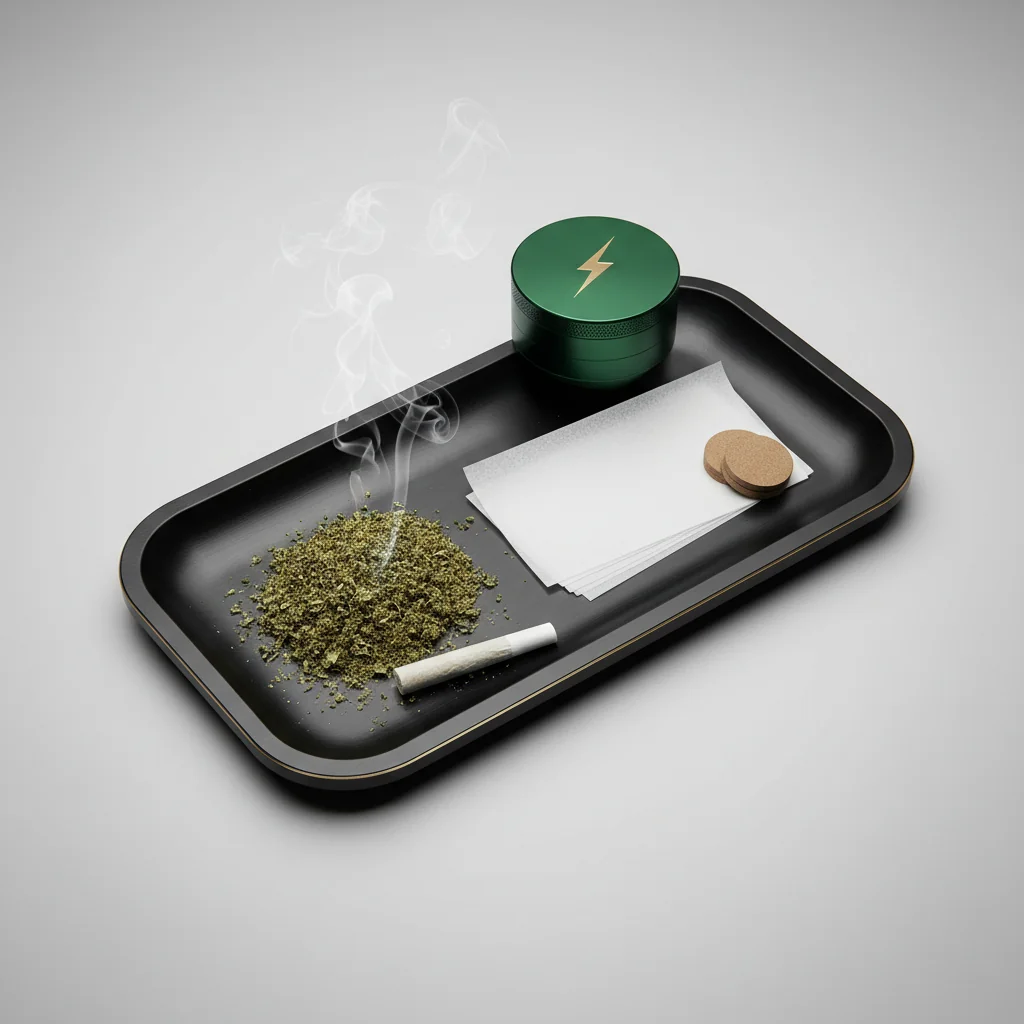
Her yuvarlak tepsinin bir mağazadan gelmesi gerekmez. DIY yuvarlak tepsiler kişiselleştirme, maliyet tasarrufu ve benzersiz bir şey yaratmanın tatmini sunar. Bu kılavuz, basit geri dönüşümden özel el yapımına kadar yaratıcı DIY yaklaşımlarını kapsar.
Hızlı Cevap
Popüler DIY yuvarlak tepsi seçenekleri arasında: özel sanatla yeniden değerlendirilen resim çerçeveleri, ek özelliklere sahip ahşap servis tepsileri, geri dönüştürülmüş puro kutuları, özel reçine dökme, süslenmiş metal tepsiler ve yuvarlak istasyonlara dönüştürülmüş kitap kasaları bulunmaktadır. En iyi malzemeler, kolayca temizlenebilen pürüzsüz, gözeneksiz yüzeylerdir.
Neden DIY Yuvarlak Tepsi Yapmalıyım?
Faydalar:
- Tam özelleştirme
- Maliyet tasarrufu (premium tepsiler için $5-20 yerine $30-100)
- Benzersiz, tek parça eserler
- Geri dönüşüm atığı azaltır
- Mükemmel hediye seçeneği
- Kişisel tarzı ifade etme
Dikkate Alınacaklar:
- Zaman yatırımı
- Malzeme güvenliği (gıda ile temas için güvenli, gaz salınımı yok)
- Dayanıklılık değişkenlik gösterir
- Temizlik gereksinimleri
DIY el yapımı ilhamı için, Instructables binlerce proje eğitimi sunar.
Hızlı DIY Seçenekleri (30 Dakikadan Az)
1. Resim Çerçevesi Tepsisi
İhtiyacınız Olanlar:
- Camlı büyük resim çerçevesi (8×10 veya daha büyük)
- Özel sanat, fotoğraflar veya basılı tasarım
- İsteğe Bağlı: keçe arka kaplama
Nasıl Yapılır:
1. Çerçeve arka kaplamasını çıkarın
2. Özel sanatı yerleştirin (camın yüzüne bakacak şekilde)
3. Arka kısmı değiştirin
4. Çerçeveyi tepsi olarak kullanın (cam malzemeyi tutar)
Artıları: Hızlı, özelleştirilebilir sanat, cam kolayca temizlenir
Eksileri: Yükseltilmiş kenar yok, cam kırılabilir
2. Servis Tepsisi Dönüşümü
İhtiyacınız Olanlar:
- Kenarları olan ahşap veya metal servis tepsisi
- İsteğe Bağlı: boya, çıkartmalar, reçine kaplama
Nasıl Yapılır:
1. Tepsiyi iyice temizleyin
2. Gerekirse zımparalayın (ahşap)
3. İstediğiniz gibi süsleyin
4. Gıda ile temas eden kaplama ile kapatın (isteğe bağlı)
Artıları: Zaten yükseltilmiş kenarları var, dayanıklı
Eksileri: Özelleştirme olmadan sıradan görünüm
3. Kurabiye Tepsisi
İhtiyacınız Olanlar:
- Küçük metal kurabiye/pasta tepsisi
- Sprey boya veya vinil çıkartmalar (isteğe bağlı)
Nasıl Yapılır:
1. İyice temizleyin
2. Kenarları veya alt kısmı süsleyin (yuvarlak yüzeyi pürüzsüz tutun)
3. Tutma veya tasarım için vinil çıkartmalar ekleyin
Artıları: Uygun fiyatlı (2-5 $), dayanıklı, temizlemesi kolay
Eksileri: Sıradan görünüm, soğuk hissedebilir
Orta Seviye DIY Projeleri (1-2 Saat)
4. Sigaralı Kutusu Yuvarlama İstasyonu
İhtiyacınız Olanlar:
- Boş sigara kutusu (teras tercih edilir)
- Zımpara kağıdı
- Ahşap kaplama veya boya
- Bölmeler için küçük kaplar
- Manyetik şeritler (isteğe bağlı)
Nasıl Yapılır:
1. İç kısmı pürüzsüz zımparalayın
2. İç ve dış kısmı boyayın veya kaplayın
3. Küçük kaplar veya bölücüler ekleyin
4. Kapağın içine daha hafif bir şey için mıknatıs şeridi takın
5. Alt kısmı keçe ile kaplayın (isteğe bağlı)
Artıları: Entegre depolama, taşınabilir, ayırt edici
Eksileri: Daha küçük çalışma yüzeyi, ahşap kokuları emer
5. Mıknatıslı Klip Tahtası
Gerekli Olanlar:
- Klip tahtası (metal veya ahşap)
- Mıknatıs şeritleri
- Boya veya vinil
- Silikon mat (isteğe bağlı)
Nasıl Yapılır:
1. Klipi çıkarın veya kağıtları tutmak için bırakın
2. Yüzeyi süsleyin
3. Metal aletleri tutmak için mıknatıs şeritleri ekleyin
4. Yuvarlama yüzeyi için silikon matı takın
Artıları: Taşınabilir, mıknatıslı alet depolama, düşük maliyet
Eksileri: Küçük yüzey alanı
6. Ahşap Kesme Tahtası Yükseltmesi
Gerekli Olanlar:
- Yeni ahşap kesme tahtası (kenar oluklu)
- Frez veya chisel (bölmeler için)
- Ahşap yakıcı (tasarımlar için)
- Gıda güvenliğine uygun kaplama
Nasıl Yapılır:
1. Frez/chisel ile bölmeler ekleyin
2. Pürüzsüz zımparalayın
3. Ahşap yakıcı ile tasarımlar ekleyin
4. Kasap blok yağı ile kaplayın
Artıları: Dayanıklı, profesyonel görünüm, kenar oluğu malzemeyi tutar
Eksileri: Araç gerektirir, ahşap bakımı
İleri Düzey DIY Projeleri (2+ Saat)
7. Özel Reçine Döküm Tepsisi
İhtiyacınız Olanlar:
- Ahşap tepsi tabanı veya kalıp
- Epoksi reçine (gıda ile temas için güvenli)
- Dekoratif öğeler (kurutulmuş çiçekler, sim, fotoğraflar)
- Karıştırma malzemeleri
- Isı tabancası (kabarcık giderme)
Nasıl Yapılır:
1. Tabanı veya kalıbı hazırlayın
2. Dekoratif öğeleri düzenleyin
3. Talimatlara göre reçineyi karıştırın
4. Yavaşça dökün, hava kabarcıklarından kaçının
5. Kabarcıkları ısı tabancası ile çıkarın
6. 24-72 saat kürleyin
7. Gerekirse kenarları zımparalayın
Artıları: Şaşırtıcı özel tasarımlar, dayanıklı, su geçirmez
Eksileri: Pahalı malzemeler, uzun kürleme süresi, teknik bilgi gerektirir
Güvenlik Notu: Gıda ile temas için güvenli/FDA uyumlu epoksi reçine kullanın. Havalandırılan bir alanda çalışın.
8. Kitap Güvenliği Yuvarlanma İstasyonu
İhtiyacınız Olanlar:
- Büyük ciltli kitap
- X-Acto bıçağı veya kutu kesici
- Cetvel
- Yapıştırıcı
- Keçe astar
Nasıl Yapılır:
1. Sayfaları birleştirin (ilk birkaç sayfa hariç)
2. 1" kenar bırakacak şekilde dikdörtgen çizin
3. Boşluk oluşturmak için sayfaları dikkatlice kesin
4. Kesilen kenarları yapıştırın
5. Keçe ile kaplayın
6. İstenirse bölmeler ekleyin
Artıları: Gizli, sohbet konusu, yerleşik depolama
Eksileri: Zaman alıcı, küçük çalışma alanı
9. Özel Ahşap Yapım
Gerekli Olanlar:
- Sert ağaç (ceviz, akçaağaç, kiraz)
- Ahşap işleme aletleri
- Frezeli (kanallar/bölmeler için)
- Zımpara kağıdı (çeşitli gritler)
- Gıda ile temas için güvenli kaplama
Nasıl Yapılır:
1. Ahşabı istenen boyutta kesin
2. Yükseltilmiş kenar için kenarları frezeleyin
3. Birleştirme için kanallar ekleyin
4. Bölmeler oluşturun
5. Gritleri geçerek zımparalayın (100 → 220 → 400)
6. Gıda ile temas için güvenli kaplama uygulayın
7. Pürüzsüz hale getirin
Artıları: Profesyonel kalite, tam spesifikasyonlar, miras parçası
Eksileri: Aletler ve beceriler gerektirir, zaman alıcı
Malzeme Güvenliği Rehberi
Güvenli Malzemeler:
- İşlenmemiş sert ağaç (gıda ile temas için güvenli kaplama ile)
- Gıda sınıfı silikon
- Temperlenmiş cam
- Paslanmaz çelik
- Gıda ile temas için güvenli epoksi reçineleri
- Seramik
Kaçınılması Gerekenler:
- İşlenmiş veya basınçla işlenmiş ahşap (kimyasallar)
- Sunta veya parçacık tahtası (gaz çıkarma)
- Bilinmeyen metaller (potansiyel kaplamalar)
- Gıda ile temas için güvenli olmayan boyalar veya kaplamalar
- Sıcak olduğunda gaz çıkaran plastikler
Kaplama Teknikleri
Ahşap için:
- Kasap blok yağı: Gıda ile temas için güvenli, doğal, yeniden uygulanması gerekir
- Abeeswax: Doğal, hafif suya dayanıklılık
- Gıda ile temas için güvenli poliüretan: Dayanıklı, suya dayanıklı
- Tung yağı: Doğal, dayanıklı, gıda güvenli
Metal için:
- Şeffaf kaplama: Çiziklerden korur
- Toz kaplama: Profesyonel, çok dayanıklı
- Doğal bırak: Temizlemesi kolay
Tasarım için:
- Vinil çıkartmalar: Kolay, çıkarılabilir
- Ahşap yakma: Kalıcı, sanatsal
- Lazer kazıma: Profesyonel görünüm (erişiminiz varsa)
- Akrilik boya + şeffaf kaplama: Renkli, korunmuş
MunchMakers'tan Özel Yuvarlama Tepsileri
Kendi çabanız olmadan profesyonel kalite isteyenler için, MunchMakers özel yuvarlama tepsileri sunar şu amaçlar için mükemmel:
Kişisel Kullanım:
- Özel tasarımlar ve sanat eserleri
- İsim/baş harfler
- Premium yüzeyler
İş Markalaşması:
- Dispensary logoları
- Marka renkleri
- Toplu sipariş
Etkinlikler:
- Parti hediyeleri
- Düğün hediyeleri
- Tanıtım ürünleri
MunchMakers ile iletişime geçin özel yuvarlama tepsileri için toptan fiyatlandırma hakkında.
Yeniden Değerlendirme Fikirleri
Yeniden Kullanabileceğiniz Eşyalar:
- Eski ahşap takı kutuları
- Vintage metal öğle yemeği kutuları
- Ahşap çekmece düzenleyicileri
- Kenarlı seramik tabaklar
- Cam kasede kapakları
- Vintage kül tablaları (büyüğü)
- Dekoratif metal kutular
İpuçları:
- Ürünün temiz ve kokusuz olduğundan emin olun
- Stabiliteyi kontrol edin (devrilmeyecek)
- Malzeme güvenliğini doğrulayın
- Gerekirse kaymaz ayaklar ekleyin
Fonksiyonellik Eklemek
Manyetik Depolama
- Çakmaklar, aletler için manyetik şeritler kurun
- Depolama için manyetik baharat kapları kullanın
Bölmeler
- Yeniden değerlendirin buz küp tepsileri
- Ahşap bölücüler kesin
- Küçük eşyalar için ilaç düzenleyicileri kullanın
Yuvarlanan Yüzey
- Yapışmazlık için silikon mat ekleyin
- Kolay temizlik için cam insert ekleyin
- Tutma için mantar ekleyin
Dahili Özellikler
- Kül tablası bölümü
- Ortak tutucu yuvaları
- Öğütücü iyi
SSS
Yeni başlayanlar için en iyi DIY tepsi hangisidir?
Resim çerçevesi tepsisi veya servis tepsisi dönüşümü en kolay olanlardır—her ikisi de 30 dakikadan az sürer ve özel alet veya beceri gerektirmez.
DIY tepsi için ahşap mı yoksa metal mi daha iyi?
Metal temizlenmesi daha kolaydır ama soğuk hissedebilir. Ahşap daha sıcak ve özelleştirilebilir ama sızdırmazlık ve daha fazla bakım gerektirir. Önceliklerinize göre seçin.
DIY yuvarlanan tepsileri satabilir miyim?
Evet, ancak malzemelerin güvenli olduğundan, kaplamaların gıda ile temas için uygun olduğundan emin olun ve yerel iş düzenlemelerine uyun. Özel tepsiler doğru pazarda karlı olabilir.
Bu kılavuz eğitim amaçlıdır. Cannabis yasaları yargı alanına göre değişir.
Frequently Asked Questions
Resim çerçevesi tepsisi veya servis tepsisi dönüşümü en kolay olanlardır—her ikisi de 30 dakikadan kısa sürer ve özel alet veya beceri gerektirmez.
Related Guides
Custom Rolling Trays: Personalize Your Setup
Comprehensive guide about custom rolling trays: personalize your setup. Learn everything you need to know with expert tips and detailed instructions.

How to Clean Your Rolling Tray: Complete Maintenance Guide
Learn how to properly clean and maintain rolling trays made of metal, wood, silicone, and plastic. Includes cleaning schedules, stubborn residue removal, and material-specific care tips.
LED Rolling Trays: Glow-Up Your Rolling Station
Comprehensive guide about led rolling trays: glow-up your rolling station. Learn everything you need to know with expert tips and detailed instructions.