
DIY 롤링 트레이 아이디어: 맞춤형 및 업사이클 옵션
James Wilson
Cannabis Culture Writer
DIY 롤링 트레이 아이디어: 맞춤형 및 업사이클 옵션
모든 롤링 트레이가 상점에서 나올 필요는 없습니다. DIY롤링 트레이개인화, 비용 절감 및 독특한 것을 만드는 만족을 제공합니다. 이 가이드는 간단한 업사이클링에서 맞춤형 제작에 이르기까지 창의적인 DIY 접근 방식을 다룹니다.
빠른 답변
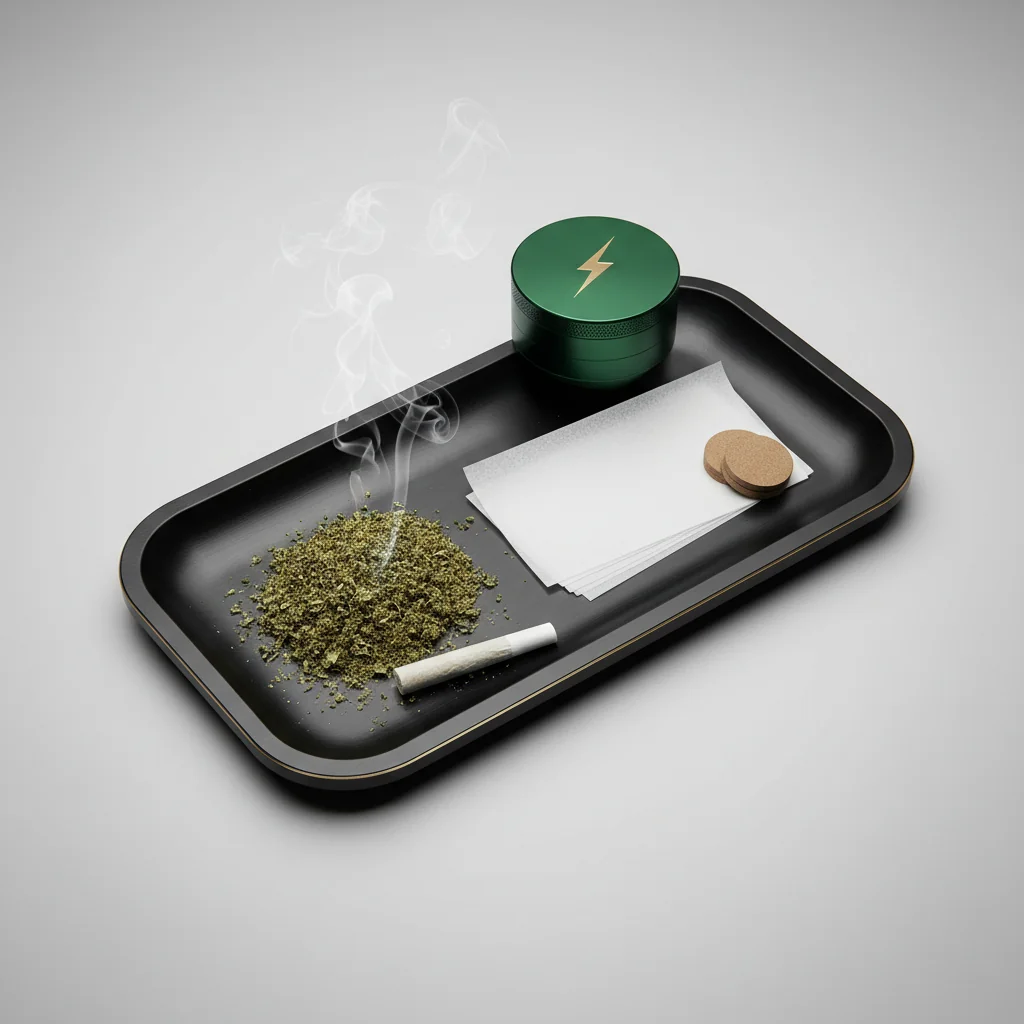
인기 있는 DIY 롤링 트레이 옵션에는 다음과 같습니다. 맞춤형 아트가 있는 용도 변경된 액자, 추가된 기능이 있는 나무 서빙 트레이, 업사이클링된 시가 상자, 맞춤형 수지 붓기, 장식된 금속 트레이 및 롤링 스테이션으로 전환된 책 금고. 최고의 재료는 쉽게 청소할 수 있는 매끄럽고 다공성이 없는 표면입니다.
DIY 롤링 트레이를 만드는 이유는 무엇입니까?
혜택:
- 완전한 사용자 정의
- 비용 절감(프리미엄 트레이의 경우 $5-20 vs $30-100)
- 독특하고 독특한 조각
- 업사이클링은 폐기물을 줄여줍니다
- 완벽한 선물 옵션
- 개인 스타일 표현
고려 사항:
- 시간 투자
- 재료 안전(식품 안전, 가스 배출 금지)
- 내구성이 달라진다
- 청소 요구 사항
DIY 공예에 대한 영감을 위해,수업수천 개의 프로젝트 자습서를 제공합니다.
빠른 DIY 옵션(30분 미만)
1. 액자 트레이
필요한 것:
- 유리가 있는 대형 액자(8×10 이상)
- 맞춤형 아트, 사진 또는 인쇄된 디자인
- 선택 사항: 펠트 백
방법:
1. 프레임 백업 제거
2. 사용자 정의 아트워크(유리를 향한 유리) 삽입
3. 백업 교체
4. 프레임을 트레이로 사용합니다(유리 캐치 재료)
장점:빠르고 사용자 정의 가능한 아트, 유리가 쉽게 청소
단점:융기된 가장자리가 없고 유리가 깨질 수 있습니다.
2. 서빙 트레이 변환
필요한 것:
- 가장자리가 있는 나무 또는 금속 서빙 트레이
- 옵션: 페인트, 스티커, 수지 마감
방법:
1. 트레이를 철저히 청소
2. 필요한 경우 모래(목재)
3. 원하는 대로 장식하기
4. 식품 안전 마감 처리로 밀봉(선택 사항)
장점:이미 융기된 모서리가 있습니다.
단점:사용자 정의가 없는 일반 모양
3. 쿠키 시트 트레이
필요한 것:
- 작은 금속 쿠키/베이킹 시트
- 스프레이 페인트 또는 비닐 스티커(선택 사항)
방법:
1. 철저히 청소
2 가장자리 또는 아래쪽을 장식하십시오(롤링 표면을 매끄럽게 유지).
3. 그립 또는 디자인을 위한 비닐 스티커 추가
장점:저렴함($2-5), 내구성이 뛰어나고 청소하기 쉽습니다.
단점:기본적으로 봐도 추워질 수 있어요
중급 DIY 프로젝트(1-2시간)
4. 시가 박스 롤링 스테이션
필요한 것:
- 빈 시가 상자(시더 선호)
- 사포
- 나무 마감 또는 페인트
- 구획을 위한 작은 용기
- 마그네틱 스트립(옵션)
방법:
1. 부드러운 모래 인테리어
2. 내부 및 외부 마감 또는 페인트 칠하기
3. 작은 용기 또는 칸막이 추가
4. 라이터 용 뚜껑 내부에 마그네틱 스트립 설치
5. 펠트가 있는 라인 하단(선택 사항)
장점:내장형 스토리지, 휴대용, 고유
단점:작업 표면이 작아 나무는 냄새를 흡수합니다.
5. 마그네틱 클립 보드 트레이
필요한 것:
- 클립보드(금속 또는 목재)
- 마그네틱 스트립
- 페인트 또는 비닐
- 실리콘 매트(옵션)
방법:
1. 클립을 제거하거나 종이를 보관하기 위해 보관하십시오.
2 표면 장식
3. 금속 도구를 고정하기 위한 마그네틱 스트립 추가
4. 롤링 표면용 실리콘 매트 부착
장점:휴대용, 자기 공구 보관, 저렴한 비용
단점:작은 표면적
6. 나무 도마 업그레이드
필요한 것:
- 새로운 나무 도마 (날개 홈 포함)
- 라우터 또는 끌(구획용)
- 나무 버너 (디자인용)
- 식품 안전 마감
방법:
1. 라우터/치젤이 있는 구획 추가
2. 샌드 매끄러운
3. 나무 버너로 디자인 추가
4. 정육점 블록 오일로 밀봉
장점:내구성이 뛰어나고 전문적인 외관, 가장자리 홈이 소재를 잡습니다.
단점:도구, 목재 유지 관리 필요
고급 DIY 프로젝트(2시간 이상)
7 맞춤형 수지 붓는 트레이
필요한 것:
- 나무 트레이 베이스 또는 몰드
- 에폭시 수지(식품 안전)
- 장식품(말린 꽃, 반짝이, 사진)
- 믹싱 용품
- 히트 건(버블 제거)
방법:
1. 베이스 또는 몰드 준비
2. 장식품 배열
3. 지침에 따라 수지를 혼합
4. 에어포켓을 피하면서 천천히 붓는다.
5. 히트 건으로 거품 제거
6. 24-72시간 치료
7 필요한 경우 모래 가장자리
장점:멋진 맞춤형 디자인, 내구성, 방수
단점:비싼 재료, 긴 경화 시간, 기술이 필요합니다
안전 참고 사항:식품 안전/FDA 준수 에폭시 수지를 사용하십시오. 환기되는 곳에서 일하십시오.
8. 안전한 롤링 스테이션 예약
필요한 것:
- 큰 양장본 책
- X-ACTO 칼 또는 박스 커터
- 지배자
- 아교
- 펠트 라이닝
방법:
1. 페이지를 함께 붙이기(처음 몇 개 제외)
2 1" 테두리를 떠나는 마크 사각형
3. 빈을 만들기 위해 페이지를 조심스럽게 자르십시오.
4. 접착제 절단 가장자리
5. 펠트와 라인
6. 원하는 경우 구획 추가
장점:신중한, 대화 조각, 내장형 저장 장치
단점:시간이 많이 걸리고 작은 작업 공간
9. 맞춤형 목재 제작
필요한 것:
- 활엽수(호두, 단풍나무, 체리)
- 목공 도구
- 라우터(홈/구획용)
- 사포(다양한 그릿)
- 식품 안전 마감
방법:
1. 원하는 크기로 나무를 자르십시오
2. 돌출된 림의 라우팅 에지
3. 조인트 홀딩용 홈 추가
4. 구획 만들기
5. 모래를 통한 모래 (100 → 220 → 400)
6. 식품 안전 마감 처리
7 버프 스무딩
장점:전문적인 품질, 정확한 사양, 가보 조각
단점:시간이 많이 걸리는 도구와 기술이 필요합니다.
물질안전안내 가이드
안전한 재료:
- 미처리 활엽수(식품 안전 마감 처리)
- 식품 등급 실리콘
- 강화유리
- 스테인리스 스틸
- 식품 안전 에폭시 수지
- 도자기의
피하다:
- 처리 또는 압력 처리 목재(화학물질)
- 합판 또는 파티클 보드(오프 가스)
- 미지의 금속(잠재적 코팅)
- 식품에 안전한 비 도장 또는 마감재
- 따뜻할 때 가스를 배출하는 플라스틱
마무리 기술
나무:
- 정육점 블록 오일: 식품 안전, 자연, 재신청 필요
- 밀랍: 자연, 약간의 내수성
- 식품 안전 폴리우레탄: 내구성이 뛰어나고 방수
- 동유: 자연, 내구성, 식품 안전
금속:
- 투명 코팅: 긁힘으로부터 보호
- 분말 코팅: 전문적인, 매우 내구성
- 자연스럽게 남겨주세요: 청소하기 쉬운
디자인:
- 비닐 데칼: 쉬운, 이동식
- 장작 불붙: 영구, 예술적
- 레이저 조각: 전문적인 모습(액세스 가능)
- 아크릴 페인트 + 클리어 코트: 다채롭고 보호된
먼치메이커의 맞춤형 롤링 트레이
DIY 노력 없이 전문적인 품질을 원하는 사람들을 위해,Munchmakers는 맞춤형 롤링 트레이를 제공합니다.완벽한:
개인 용도:
- 맞춤 디자인 및 아트워크
- 이름/초기
- 프리미엄 마감
비즈니스 브랜딩:
- 판매점 로고
- 브랜드 색상
- 대량 주문
이벤트:
- 당의 호의
- 결혼 선물
- 판촉물
먼치메이커에게 문의맞춤형 롤링 트레이에 대한 도매 가격.
업사이클링 아이디어
용도 변경 가능 항목:
- 오래 된 나무 보석 상자
- 빈티지 금속 도시락 상자
- 나무 서랍 주최자
- 가장자리가 있는 세라믹 플레이트
- 유리 캐서롤 접시 뚜껑
- 포도주재떨이(더 큰 것)
- 장식 금속 통
팁:
- 품목이 깨끗하고 냄새가 없는지 확인하십시오.
- 안정성 확인(팁이 안됨)
- 물질 안전 확인
- 필요한 경우 미끄럼 방지 발 추가
기능 추가
자기 저장
- 라이터, 도구용 마그네틱 스트립 설치
- 저장을 위해 마그네틱 스파이스 용기를 사용하십시오
구획
- 개역하다당의큐브 트레이
- 나무 칸막이를 자르다
- 작은 물건에 알약 정리 도구 사용
구르는 표면
- 붙지 않는 실리콘 매트 추가
- 쉽게 청소할 수 있도록 유리 인서트 설치
- 그립을 위해 코르크를 추가하십시오
내장 기능
- 재떨이 섹션
- 조인트 홀더 슬롯
- 가는 사람능숙하게
자주 묻는 질문
초보자를 위한 최고의 DIY 트레이는 무엇입니까?
액자 트레이 또는 서빙 트레이 변환은 가장 쉽습니다. 둘 다 30분 미만이 소요되며 특별한 도구나 기술이 필요하지 않습니다.
DIY 트레이에 나무 또는 금속이 더 낫습니까?
금속은 청소하기가 더 쉽지만 차가운 느낌이 들 수 있습니다. 목재는 더 따뜻하고 사용자 정의가 가능하지만 밀봉과 더 많은 유지 관리가 필요합니다. 우선 순위에 따라 선택하십시오.
DIY 롤링 트레이를 판매할 수 있습니까?
예, 하지만 재료가 안전하고 마감재가 식품 등급이며 현지 비즈니스 규정을 준수하는지 확인하십시오. 맞춤형 트레이는 올바른 시장에서 수익성이 있을 수 있습니다.
이 가이드는 교육 목적입니다. 대마초법은 관할권에 따라 다릅니다.
Frequently Asked Questions
액자 트레이 또는 서빙 트레이 변환은 가장 쉽습니다. 둘 다 30분 미만이 소요되며 특별한 도구나 기술이 필요하지 않습니다.
Related Guides
Custom Rolling Trays: Personalize Your Setup
Comprehensive guide about custom rolling trays: personalize your setup. Learn everything you need to know with expert tips and detailed instructions.

How to Clean Your Rolling Tray: Complete Maintenance Guide
Learn how to properly clean and maintain rolling trays made of metal, wood, silicone, and plastic. Includes cleaning schedules, stubborn residue removal, and material-specific care tips.
LED Rolling Trays: Glow-Up Your Rolling Station
Comprehensive guide about led rolling trays: glow-up your rolling station. Learn everything you need to know with expert tips and detailed instructions.