
デジタル スケールのキャリブレーション方法: ステップバイステップ ガイド
Lisa Thompson
Storage & Preservation Specialist
デジタル スケールのキャリブレーション方法: ステップバイステップ ガイド
キャリブレーションにより、スケールが正確な読み取り値を確実に得ます。 品質のスケールでさえ、時間の経過とともにドリフトし、新しいスケールはキャリブレーションされずに到着することがよくあります。 このガイドでは、スケールを正確に保つために知っておくべきことをすべてカバーしています。
迅速な答え
キャリブレーションするには: 安定した表面でスケールをオンにして、キャリブレーション モード (通常は CAL ボタンを押したままにし、ゼロ読み取りを待ち、必要なキャリブレーション ウェイトを入力して確認を待つ) を待ちます。 毎月、ドロップ後、または測定値がずれているように見えるときに校正します。 ほとんどのスケールには、50G、100G、または 200G のキャリブレーション ウェイトが必要です。
なぜキャリブレーションが重要なのか
計測と校正科学の場合、BIMP (国際重量測定局)国際測定基準を設定します。
キャリブレーションなしで何が起こるか
- 読み値は真の重みから離れます
- 経時的な小さなエラーの複合
- 購入を正確に確認できない
- 投与量が信頼性がなくなる
- 良いスケールが壊れていると思うかもしれません
キャリブレーションするタイミング
間違いなくキャリブレーション:
- 新しいスケール (箱から出してすぐ)
- 落としたり、耳障りになったりした後
- 温度変化後
- 毎月定期的に使用
- 読み物がずれているように見えるとき
標識の校正が必要です。
- 同じアイテムの毎回異なる読み方
- 既知の重みは正しく読まない
- ディスプレイが正しくゼロにならない
- 測定値は一貫して高または低いようです
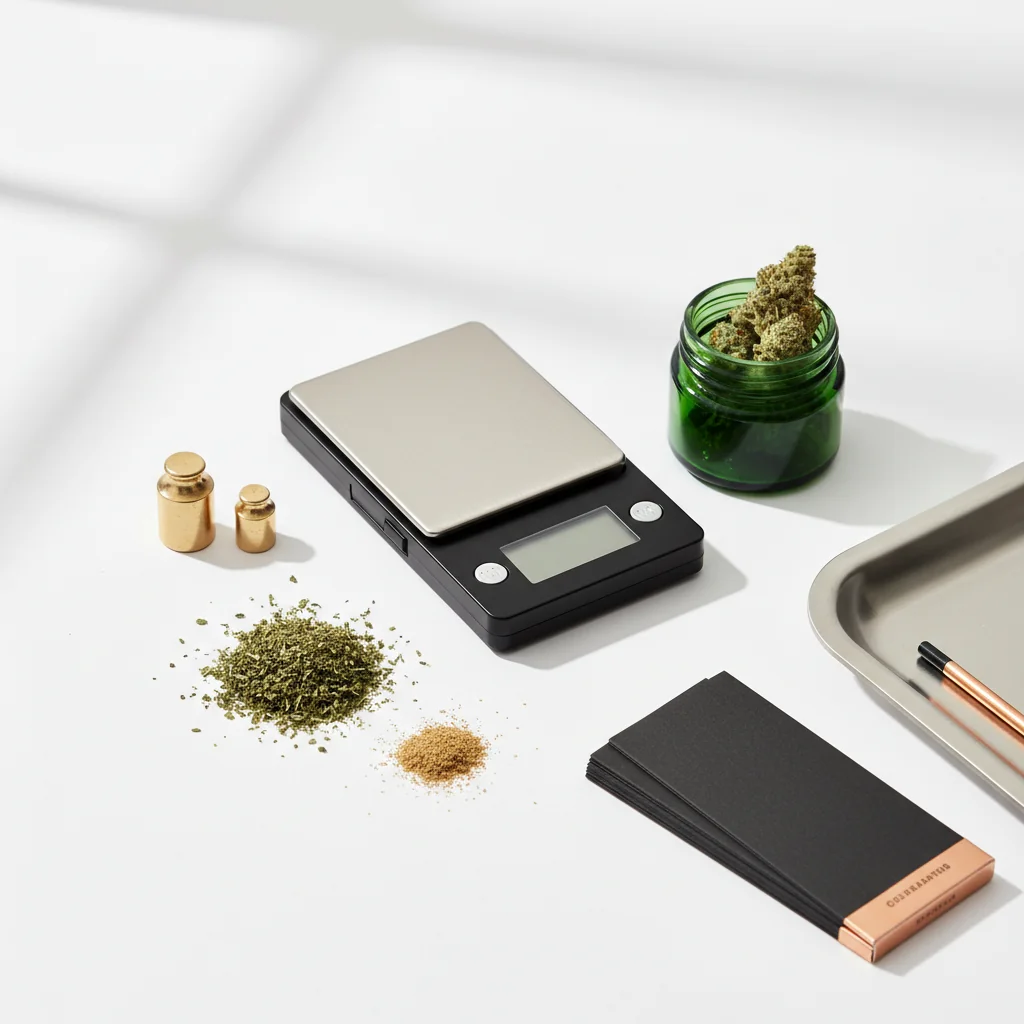
必要なもの
校正重み
含まれる重量:
多くの精密スケールには、キャリブレーション ウェイトが含まれます。 ボックスまたはスケールケースを確認してください。
ウェイトの購入:
- オンラインで入手可能 (セットで $5-15)
- ヘッドショップで売られている
- ジュエリー用品店
一般的な校正の重み:
- 50g
- 100g
- 200g
- 500g
スケールの要件:
手動または校正モードの表示をチェックして、体重計が必要な重量を確認します。
DIY の代替案
米国のコインをキャリブレーション チェックとして:
コインの使用:
- より大きな重みの場合は複数スタック
- 10ニッケル=50g
- 20ニッケル=100g
制限事項:
- 校正用の重みほど正確ではない
- 磨耗したコインは軽い場合があります
- 精密校正ではなく、チェックに適しています
ステップバイステップのキャリブレーション
ステップ 1: スケールを準備する
セットアップ:
- 平らで安定した硬い表面に置きます
- カーペット、テーブルクロスは避けてください
- 通気孔やドラフトから離れて
- 室温環境
電源を入れる:
- スケールをオンにする
- ウォームアップ (30 秒) にしましょう
- ディスプレイは 0.0g と表示されます
- プラットフォームに触れないようにする
ステップ 2: キャリブレーション モードに入る
一般的な方法:
- 「CAL」が表示されるまで CAL ボタンを押したままにします
- モード ボタンを 3 ~ 5 秒間押し続ける
- 風袋+モードを同時に押す
- クリップで隠しボタンを押す
マニュアルを参照してください正確な手順については、モデルによって異なります。
あなたが見るもの:
- ディスプレイ上の「cal」
- 点滅する数字 (必要な重さ)
- ゼロ校正待ちの「0.0」
ステップ 3: ゼロ校正
ほとんどのキャリブレーションの最初のステップ:
- ディスプレイに 0.0 などが表示されます
- プラットフォームが空であることを確認する
- スケールに触れないでください
- ボタンを押してゼロ点を確認します
何が起きているのか:
スケールは「ゼロの重み」のベースラインを記録しています。 干渉があれば、ベースラインが不正確になります。
ステップ 4: キャリブレーション ウェイトを配置する
プロンプトが表示されたら:
- ディスプレイに必要な重量が表示されます (例: "100")
- キャリブレーションウェイトをそっと
- プラットフォームに合わせる
- 手を完全に取り除く
- 読書が安定するのを待つ
クリティカル:
- 示された正確な重量を使用してください
- 体重を落とさないでください
- 校正中にスケールに触れないでください
ステップ 5: 確認
成功指標:
- ディスプレイ「パス」を表示
- ディスプレイ「終了」を表示
- ビープ音の拡大
- 通常の計量モードに戻ります
キャリブレーションが失敗した場合:
- ディスプレイに「失敗」または「エラー」が表示されます
- 以下のトラブルシューティングのセクションを参照してください
ステップ 6: 確認する
キャリブレーション後、テスト:
- 計量校正重量(正確なはず)
- 既知の項目 (コインなど) の計量
- 複数のアイテムを試す
- 一貫性をチェック
キャリブレーションの問題のトラブルシューティング
「失敗」または「エラー」表示
原因:
- 間違った校正用の重みを
- 表面が平らではない
- キャリブレーション中の移動
- 低バッテリー
- スケールの誤動作
ソリューション:
1. 正しい重みを使用していることを確認してください
2. より安定した表面に移動
3. バッテリーを交換する
4. 穏やかな環境で再試行する
5. 最初からやり直す
スケールがキャリブレーション モードに入りません
やってみて
- ボタンの組み合わせが違う
- コンサルティングマニュアル
- 電源を切って待って、もう一度やり直してください
- 電池交換
- 隠しキャリブレーション ボタンを探しています
キャリブレーションは成功しましたが、それでも不正確です
考えられる問題:
- 校正の重み自体が不正確です
- スケールはハードウェアに損傷があります
- 環境干渉
ソリューション:
- 別のキャリブレーション ウェイト
- 別の体重計で重量を確認する
- 別の場所でテストする
- メーカーに連絡する
ディスプレイに必要な重量が間違っていることを表示
通常のバリエーション:
モデルが異なれば、キャリブレーションの重みも異なります。 標準と思われるものではなく、表示されるスケールを使用してください。
異なるスケール タイプのキャリブレーション
ポケットスケール (0.1g)
典型的な手順:
- 100G または 200G キャリブレーション
- シンプルな CAL ボタン プロセス
- 1~2分かかります
ミリグラム スケール (0.001g)
より機密性の高いプロセス:
- 通常、10G または 20G キャリブレーション
- フロントガラスを閉じる必要があります
- 非常に安定した表面が必要
- 環境への影響がより起こりやすい
- 複数のキャリブレーションが必要な場合が
台所用の鱗
自動校正が行われることが多い:
- 多くの人は手動校正を持っていません
- メニューから工場出荷時の状態にリセット
- ポケット/ミリグラムのスケールよりも正確さが低い
キャリブレーションの
ベスト プラクティ
キャリブレーションを保護する:
- 適切に保管してください (ケースが含まれている場合)
- 極端な温度は避けてください
- 落下しないでください、または、スケール
- 磁石から遠ざける
- 優しく扱って
定期的なチェック:
- 毎週: 既知の重量で確認する
- 月次: 完全な再調整
- 何らかのインシデントの後: 再調整する
環境要因
精度に影響を与える:
- 温度変化
- 湿気
- 高度の変化
- 気流
- 振動
精度が最も重要な場合:
体重を量るのと同じ環境で校正します。
クイックリファ
一般的なキャリブレーション ボタンの組み合わせ
DIY 重量の参考
まとめ
キャリブレーションは簡単ですが、必須です。
1. 準備する- 安定した表面、ウォームアップスケール
2. モードに入る- 通常、cal またはモードを長押しします
3. ゼロ- スケールを確立させます ベースライン
4. 量- 必要な重量を正確に配置する
5. 確認を- パス表示を待つ
6. 確認する- 既知の重みでテスト
定期的な校正により、スケールが正確に保たれます。 月数分で測定の問題を防ぎます。
このガイドは教育目的のものです。 大麻に関する現地の法律を常に遵守してください。
Step 1:
Step 2:
Step 3:
Step 4:
Step 5:
Frequently Asked Questions
定期的な使用、体重計の落とした後、温度変化が大きくなった後、または測定値が不正確に見える場合は、毎月校正してください。 新しいスケールは、最初に使用する前に校正する必要があります。
はい、DIY キャリブレーション チェックとして米国のコインを使用してください。ニッケルの重さは正確に 5.0g、1982 年以降のペニーの重量は 2.5g です。 校正用の重みほど正確ではありませんが、検証に役立ちます。
一般的な原因: 表面が不安定、校正重量が少ない、バッテリーが低い、または破損したスケール。 表面が水平であることを確認し、スケール モデルに適切な重量を使用し、バッテリーを交換してから再試行してください。 持続的な障害は、ハードウェアの問題を示している可能性があります。
Related Guides

Best Scales for Cannabis: Complete Buying Guide
Find the perfect scale for weighing cannabis. Compare pocket scales, milligram scales, and kitchen scales with recommendations for different needs and budgets.

Understanding Cannabis Measurements: Grams to Ounces Explained
# Understanding Cannabis Measurements: Grams to Ounces Explained ## Introduction Navigating the world of cannabis can be a bit daunting, especially when it comes to understanding the various measurements used to quantify it. Whether you're a seasoned consumer or new to the scene, knowing the standa
Cannabis Weight Guide: Grams, Eighths, Quarters & Ounces
Comprehensive guide about cannabis weight guide: grams, eighths, quarters & ounces. Learn everything you need to know with expert tips and detailed instructions.