How to Make Cannabutter With Shake: A Complete Guide
How to Make [Cannabutter](/guide/how-to-make-cannabutter) With Shake: A Complete Guide
Cannabutter is the foundation of most homemade edibles, and shake - the broken-up small leaf material that collects at the bottom of cannabis jars - is the most cost-effective material to make it with. Using shake instead of full nugs cuts the cost of cannabutter dramatically without sacrificing potency, because the active compounds are present throughout the plant material. This guide walks through the full process: decarbing your shake, infusing it into butter, straining the result, and storing it correctly.
Quick Answer
To make cannabutter with shake: decarboxylate 7-14 grams of shake in the oven at 240°F (115°C) for 30-40 minutes, then simmer it with 1 cup of melted butter on low heat (160-200°F) for 2-3 hours, stirring occasionally. Strain through cheesecloth into a glass container and refrigerate until solid. The result substitutes 1:1 for regular butter in any recipe - and it works just as well as butter made from full nugs, because THC is spread throughout the plant material, not just the buds.
--- ## Table of Contents - What You'll Need - Step 1: Decarboxylate the Shake - Step 2: Simmer the Shake in Butter - Step 3: Strain and Store - Dosing Cannabutter Made From Shake - Common Mistakes - Tips for Better Cannabutter - Frequently Asked Questions - Conclusion --- ## What You'll Need {#what-you-need}
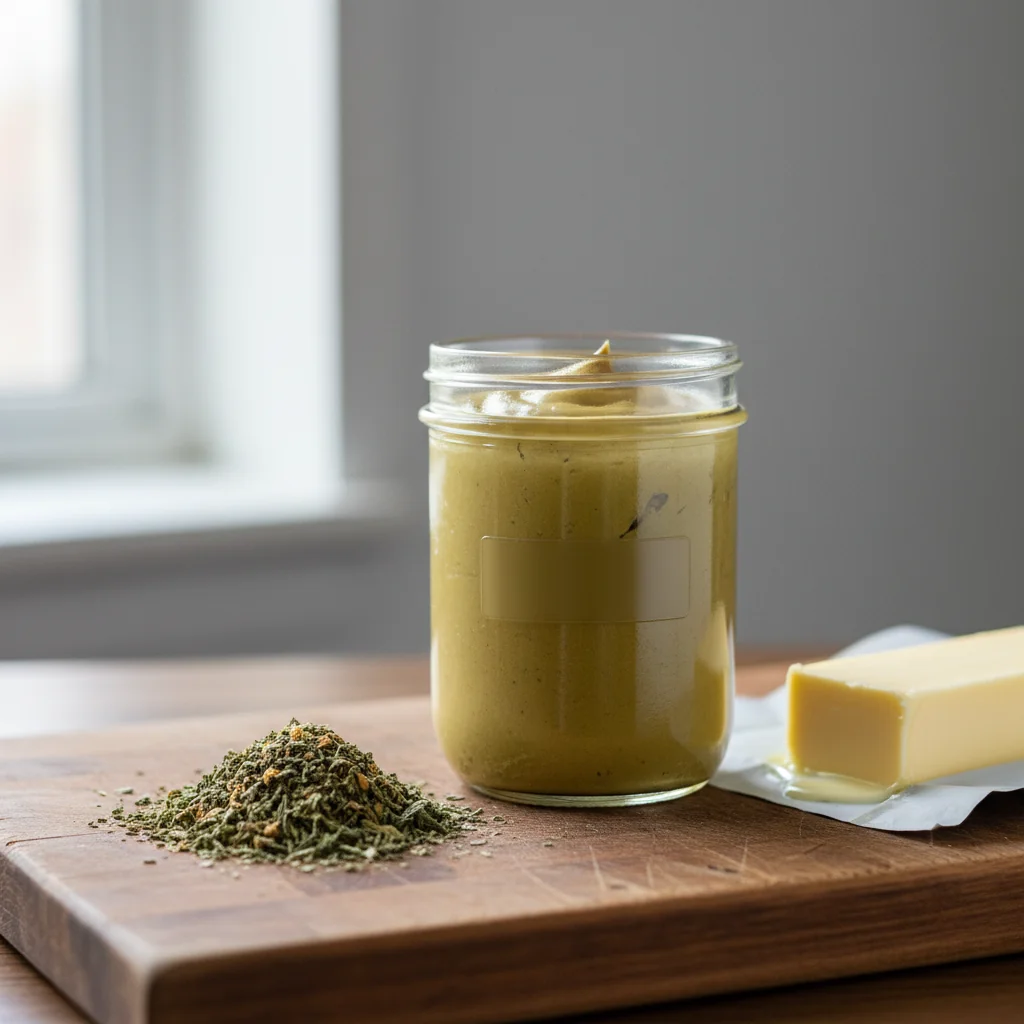
Cannabutter from shake is made with basic kitchen tools and pantry items.
Cannabis shake is usually around 7-14 grams, which is like a quarter to a half ounce. So, what is shake? It's basically the broken-up bits of bud and small leaves that fall to the bottom of cannabis containers or bags. Even though it doesn't look as nice as the full nugs, the THC content is pretty similar. That's why it's often sold at a lower price - it's not about the quality, just the appearance.
To make the best cannabutter, you'll need one cup of unsalted butter - that's two sticks, or 226 grams. Using unsalted butter is a good idea because it lets you decide how much salt goes into your recipe later on. If you can, try to use a high-fat butter, like the kind they make in Europe, which has at least 82% fat. This type of butter is actually better at getting the THC out of the cannabis than the regular American butter, which only has 80% fat.
When you're cooking, it's a good idea to add some water to the pan. This helps keep the butter from burning and makes sure the temperature stays right. You'll need about one cup of water for this.
Tools: a baking sheet, parchment paper, a medium saucepan, a fine-mesh strainer, cheesecloth or a coffee filter, a candy thermometer (optional but recommended), a glass storage jar with a lid.
You can also use a sous vide setup or slow cooker to make the cannabutter. These tools help keep the temperature just right, so the mixture doesn't get too hot or scorch. This way, you get a stronger cannabutter because the temperature stays perfect the whole time.
--- ## Step 1: Decarboxylate the Shake {#decarb}
Decarboxylation (decarb) is the heat process that converts THCA - the inactive compound found in raw cannabis - into THC, the active compound that produces effects.
If you don't decarb your cannabis before adding it to butter, it won't be very strong. You might end up with butter that's only a little potent, or it might not work at all. Lots of people make this mistake when they're making cannabutter at home, and that's why it doesn't turn out right. Decarbing is a crucial step - it's what activates the cannabis and makes it effective. Without it, your butter just won't be as good.
To decarb shake:
To start, get your oven ready by heating it to 240°F, which is 115°C. If you've got an oven thermometer, use it - a lot of home ovens don't actually heat to the temperature you set, they can be off by as much as 15-25°F.
To start, take 7-14 grams of the shake and spread it out evenly across a baking sheet that's been lined with parchment paper. Next, use your fingers to break up any bigger pieces into smaller ones, making sure everything is evenly sized so the heat can distribute properly. This will help everything cook consistently.
To bake, you'll need to put it in the oven for 30-40 minutes. As it bakes, the color will change from green to a brownish-green color, which is what happens when the THCA is converted. You'll also start to smell a strong aroma, but don't worry, this is totally normal.
Take the shake out of the oven and let it cool down to room temperature on the baking sheet. When it's cool, it should be dry and a little crumbly, with a color that's a mix of tan and green.
If your shake is really old and dry, like over 6 to 12 months, you should cut back on the decarb time to around 20-25 minutes. The thing is, older flower has already started to break down a bit just from sitting at room temperature, so if you decarb it for too long, you'll end up losing some of the good stuff - the THC will start to turn into other compounds that aren't as potent.
You can also decarb at a lower temperature, like 210°F, but you'll need to leave it for 90 minutes. This slower process gives you more control over what's happening. Plus, it helps keep more of the terpenes, which are the things that give your cannabutter its flavor. So, if you want it to taste really good, this might be the way to go.
--- ## Step 2: Simmer the Shake in Butter {#simmer}
The simmering process is what allows the THC to break down and infuse into the fat of the butter, effectively extracting it from the plant material.
To make the infusion:
1. In a medium saucepan, combine 1 cup of butter and 1 cup of water. The water keeps the butter from scorching and helps regulate the temperature.
2. Place over low heat. Stir occasionally as the butter melts and combines with the water. Do not boil - keep the heat low.
Now that the butter has completely melted, it's time to add the decarbed shake to the pot. Make sure to stir everything really well, so all the plant material gets coated with the butter-water mixture. This is an important step, as it helps ensure everything mixes together properly.
To get the best results, keep the mixture at a low simmer, around 160-200°F, for a couple of hours. If you've got a candy thermometer, now's the time to use it. You're looking for small bubbles to form around the edges, but you don't want it to boil. Every 20-30 minutes, give it a stir to make sure everything is cooking evenly. This will help you achieve the perfect consistency.
As you observe the mixture, notice how the color transforms. The butter will gradually take on a yellowish-green hue, indicating that the chlorophyll and cannabinoids are being extracted from the plant material. By the time the simmering process is complete, the mixture will have the appearance of a vibrant, oily green liquid, with the plant material still suspended within it.
The cooking time is important when making cannabutter. If you don't cook it for long enough, you won't get all the good stuff out. Cooking it for less than 2 hours isn't enough to get all the THC. On the other hand, if you cook it for too long, like more than 4 hours, the THC starts to break down into something else called CBN. This can make you feel sleepier and it's not as strong. Some people might want this, but most people don't. They want the full effect of the cannabutter. So, you have to get the cooking time just right.
Why low heat matters: THC begins to vaporize and degrade above 392°F (200°C). Keeping the simmer well below that temperature preserves the cannabinoids during extraction.
--- ## Step 3: Strain and Store {#strain}
This step is where you separate the butter that's been infused with the plant from the plant material that's been used.
To strain:
To get started, place a strainer with small holes over a big glass cup or bowl that can handle heat. Now, take some cheesecloth - you'll need a few layers, about two or three - and use it to line the strainer. Alternatively, you could use a coffee filter to line it instead.
When you're ready to strain the mixture, carefully pour the hot butter-water-shake through a cheesecloth or strainer. Use a spatula or spoon to gently press the plant material against the cheesecloth, making sure to squeeze out as much butter as you can. Just a heads up, the plant material will be hot, so wear some gloves to protect your hands.
Get rid of the used shake - you can either throw it away or add it to your compost. At this point, most of the THC will have been absorbed into the butter, so the shake won't be of much use anymore.
Now it's time to chill the mixture. Pour it into a glass jar, cover it up, and stick it in the fridge for a few hours - we're talking 4 to 6 hours. Just wait until the butter has solidified and formed a layer on top of the water, then you're good to go.
When the butter has fully solidified, you'll notice it forms a single layer that's yellow-green in color, and it will be floating on top of the water. To remove it, simply use a knife to gently lift the butter out, and as you do, scrape off any water that might be stuck to the bottom of the butter.
Now that you've made your cannabutter, it's time to store it. Put the cleaned cannabutter in a new glass jar with a lid that fits tightly. You can keep it in the fridge for up to 2 months, or if you want to keep it for longer, you can freeze it for up to 6 months.
When making cannabutter, you'll end up with about 1 cup of the final product, which is a mix of 1 cup of butter and 7-14g of shake. Keep in mind that some of the butter gets absorbed by the plant material and is lost when you strain it. So, when you're planning your recipes, make sure to take this final yield into account.
--- ## Dosing Cannabutter Made From Shake {#dosing}
Figuring out how much THC is in homemade cannabutter can be a bit rough, but you can get a pretty good idea of how much is in each tablespoon.
Basic math for shake: - Shake usually has 10-18% THC, less than top-shelf flower at 20-25% - 1 gram of 15% THC shake = roughly 150mg of THC; decarbing is about 90% efficient, so ~135mg active - 7 grams of 15% shake = approximately 945mg of THC - About 60-80% of that THC actually makes it into the butter, so the final product holds roughly 600-750mg
Per-tablespoon dose (1 cup = 16 tablespoons): - 600-750mg of THC ÷ 16 tablespoons = 37-47mg of THC per tablespoon - 1 teaspoon (1/3 of a tablespoon) = roughly 12-16mg of THC - A standard 10mg edible dose = a bit over 1/2 teaspoon of cannabutter
When you're working with a new batch, start small. Testing is the only way to know how strong your specific butter turned out. Bake a single small tester cookie with just 1/4 teaspoon of cannabutter - that's roughly 3-4mg of THC. Eat it, wait a full 90 minutes, and see how you feel. Then adjust your next dose based on what happened.
For baking, a typical amount is 1-2 tablespoons of cannabutter per batch of 12 cookies. At 37-47mg per tablespoon, that works out to roughly 3-8mg of THC per cookie.
--- ## Common Mistakes {#common-mistakes}
The mistakes that ruin homemade cannabutter are mostly in the temperature control and decarb steps.
Don't skip the decarboxylation step. If you put raw shake straight into hot butter, it won't work very well. You'll probably end up with butter that's not very strong. To get good results, you should always decarb your shake in the oven first. This helps bring out the best in your ingredients and makes a big difference in the final product.
Be careful with the heat. When you cook at temperatures over 200°F, you'll start to lose some of the good stuff - THC - to vaporization. So, keep an eye on the simmer, it should just be gently bubbling around the edges of the pot, not a full-on rolling boil.
If you decarb for too long or at a temperature that's too high, it can really affect the quality of your product. The standard way to do it is at 240°F for 30-40 minutes. If you go higher or longer than that, you'll start to convert the THC into CBN, which is a sleepier compound, and that can degrade the potency of your product. It's all about finding that sweet spot to get the best results.
If there's not enough water in the simmer, it can cause big problems. You see, using a 1:1 ratio of water to butter is really important because it stops the butter from scorching. When you don't have enough water, the butter can start to break down or even burn, and that's basically the end of your batch - it's ruined.
When you squeeze the cheesecloth too tightly, it can be a problem. This is because the pressure pushes out the chlorophyll and bitter compounds, which can make the cannabutter taste unpleasantly grassy. On the other hand, if you press the cheesecloth lightly, you'll get a cleaner-tasting butter. So, it's all about finding the right balance and not squeezing too hard.
Don't forget to put a label on the jar and date it. You see, cannabutter can be easily mistaken for regular butter, so it's really important to mark the container clearly. This way, you'll know exactly what's inside and when you made it. Also, make sure to store it in a safe place where kids and pets can't get to it.
--- ## Tips for Better Cannabutter {#tips}
Making a few small tweaks can really make a big difference in the flavor and strength of your cannabutter.
Don't grind the shake too finely, just do it coarsely. This way, you'll get more surface area for extraction, but you won't release too much chlorophyll. If you grind it too much, it'll be like a powder, and that's not good - it makes the butter taste gritty and grassy.
Use a slow cooker or sous vide for consistent temperature. A slow cooker on the "low" setting holds 180-200°F naturally. A sous vide at 185°F (85°C) for 4 hours produces excellent extraction with minimal monitoring.
You can boost the absorption of THC by adding a little lecithin to your mix. Just put in about a teaspoon of sunflower or soy lecithin for every cup of butter you're using. This helps your body take in the THC more efficiently, so you might find that the same amount of dose feels a bit stronger.
Use higher-fat European butter for slightly stronger results. 82%+ fat butter holds more cannabinoids than 80% fat American butter. The difference is small but real.
You can reuse the water that's left after straining, often called "weed water", to make soup stock or even coffee. This water still has a bit of THC in it, so some people like to save it and add it to other recipes for a mild effect.
Start with a small trial run. When you're new to making cannabutter, it's a good idea to begin with a tiny 3-gram test batch, rather than jumping straight into a large 14-gram production batch. This way, you can get a feel for the process and avoid wasting pricey materials if something goes wrong.
--- ## Frequently Asked Questions {#faq} ### Can you make cannabutter with just shake? Yes - shake makes cannabutter equally as effectively as whole nugs. The active cannabinoids are distributed throughout the plant material, not concentrated in a specific part. Using shake is the most cost-effective way to make cannabutter because shake typically costs 30-50% less than full flower. ### How much shake do you need for a stick of butter? For a single stick of butter (1/2 cup, 113g), use 3.5-7 grams of shake. The exact amount depends on shake potency and how strong you want the final butter. For 1 cup of butter, double the shake to 7-14 grams. ### Do you have to decarb shake before making cannabutter? Yes. Without decarboxylation, the THCA in shake doesn't convert to active THC, and the resulting butter is significantly weaker. Bake shake at 240°F for 30-40 minutes before adding it to butter. ### How long does cannabutter from shake last? Refrigerated cannabutter lasts 1-2 months in an airtight glass jar. Frozen cannabutter lasts 4-6 months. Watch for off-smells, mold, or visible spoilage; discard if anything looks wrong. ### Is cannabutter from shake as strong as cannabutter from buds? Slightly less, on average. Shake typically tests at 10-18% THC versus 20-25% for top-shelf buds. To match the potency, use 25-50% more shake than you would buds. The taste and texture of the final cannabutter is the same. --- ## Conclusion {#conclusion}
Cannabutter from shake is the most cost-effective entry into homemade edibles. The process is straightforward - decarb the shake at 240°F for 30-40 minutes, simmer it in a cup of butter and a cup of water at 160-200°F for a few hours, then strain through cheesecloth and refrigerate. It's the same process as making cannabutter from full nugs, just with cheaper raw material. You should end up with about a cup of butter holding around 600-750mg of total THC - roughly 37-47mg per tablespoon. Test a small dose before baking a full batch, label your storage clearly, and if you're new to edibles, start low and go slow.
Frequently Asked Questions
Yes — shake makes cannabutter equally as effectively as whole nugs. The active cannabinoids are throughout the plant material, not just in buds. Shake typically costs 30-50% less than full flower.
For a single stick (1/2 cup, 113g), use 3.5-7 grams of shake. For 1 cup of butter, double to 7-14 grams. Exact amount depends on shake potency and desired strength.
Yes. Without decarboxylation, the THCA in shake doesn't convert to active THC, and the resulting butter is significantly weaker. Bake at 240°F for 30-40 minutes.
Refrigerated cannabutter lasts 1-2 months in an airtight glass jar. Frozen cannabutter lasts 4-6 months. Discard if you see mold or off-smells.
Slightly less. Shake typically tests at 10-18% THC versus 20-25% for top-shelf buds. To match the potency, use 25-50% more shake than you would buds.
Related Guides

Best Cannabis Brownies Recipe: Classic Pot Brownie Guide
Perfect cannabis brownies recipe with step-by-step instructions. Learn proper cannabutter ratios, baking temperatures, dosing calculations, and tips for consistent, delicious pot brownies.

Calculating THC Dosage in Edibles: The Complete Math Guide
Master the math behind cannabis edible dosing. Complete formulas for calculating THC content, extraction efficiency charts, worked examples, and a quick reference cheat sheet.

How to Make Cannabis Chocolate Truffles: Infused Confection Recipe
Elegant cannabis chocolate truffle recipe with precise dosing. No-bake ganache method using cannabis coconut oil. Coating options, flavor variations, and storage tips.